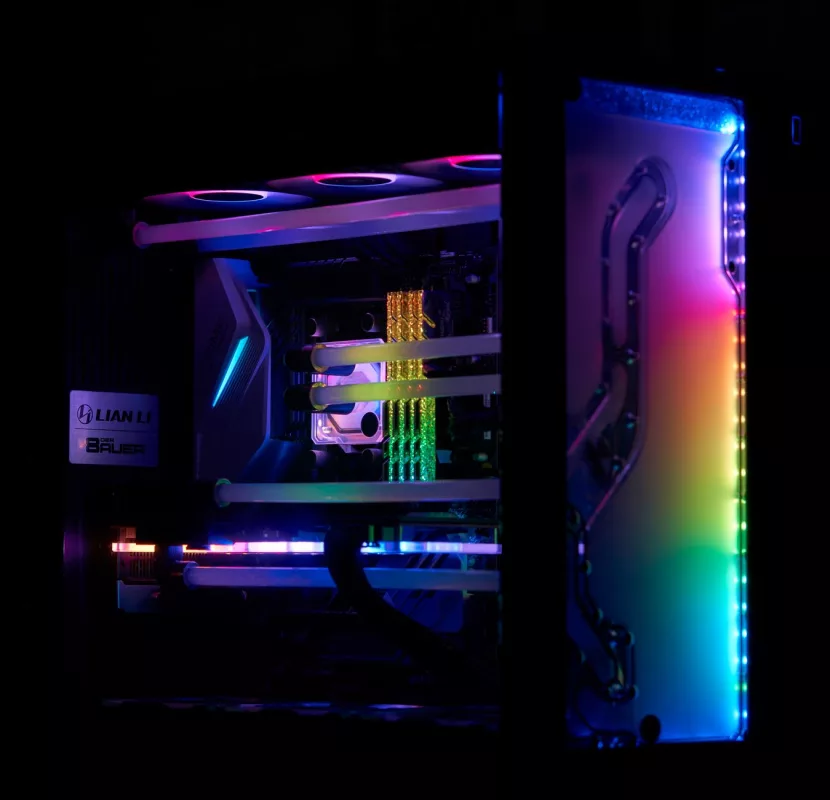
Hey there! If you're anything like me, you probably look at those sleek, mass-produced PC cases and think, "Yeah, that's cool, but what if I could make something truly my own?" That's exactly how I felt when I first considered building a DIY PC case. It's a journey, let me tell you, but it's incredibly rewarding. We're not just talking about saving a few bucks here; we're talking about bringing your unique vision for a computer into physical existence. It’s a chance to blend aesthetics, functionality, and your personal touch in a way no off-the-shelf product ever could.
Why Go the DIY Route for Your PC Case?
So, why would anyone even bother with the hassle of crafting a PC case from scratch when there are literally thousands of options readily available? Good question! For me, the answer is multi-faceted. First off, there's the unparalleled customization. You can dictate every single dimension, every angle, every material choice. Want a case that doubles as a coffee table? Go for it! Need a super-compact ITX build that fits into a specific nook? You got it. It's about designing around your components, your space, and your style, not the other way around.
Then there's the learning experience. My goodness, I learned so much during my first build. From basic carpentry or metalworking skills to understanding airflow dynamics and component spacing, it's a fantastic educational project. And let’s be honest, there’s a certain pride that comes with telling someone, "Yeah, I built this myself." It’s not just a computer; it’s a piece of art, a personal statement.
Planning Your Masterpiece: The Crucial First Steps
Before you even think about grabbing a saw or a drill, you absolutely, positively need to plan. This isn't a project you just wing. Trust me, I tried that once with a smaller project, and it ended in tears (and wasted material). Here’s what you gotta figure out:
- Component Inventory: What's going inside? This is the most critical starting point.
- Motherboard Size: ATX, Micro-ATX, Mini-ITX? This dictates your baseplate dimensions.
- Graphics Card Length: Some modern GPUs are absolute monsters; make sure you have room.
- CPU Cooler Height: Tower coolers can be tall.
- Power Supply Unit (PSU) Size: ATX, SFX?
- Storage Drives: How many 2.5" SSDs or 3.5" HDDs?
- Cooling: Are you using air coolers or liquid cooling (AIOs or custom loops)? Fan sizes and radiator thickness are super important here.
- Material Selection: This is where things get exciting.
- Wood: Easy to work with, great for unique aesthetics, but needs good ventilation planning. Plywood, MDF, or even solid wood planks are popular choices.
- Acrylic/Plexiglass: Offers transparency, light weight, and can be bent with heat. Requires careful cutting to avoid cracking. Great for showcasing RGB!
- Metal (Aluminum/Steel): Durable, excellent heat dissipation. More challenging to work with for a beginner (requires specialized tools like metal shears, welders, or bending brakes), but yields professional results.
- Design & Blueprints: Get those ideas onto paper, or even better, a CAD program.
- Sketch multiple angles.
- Mark out component placement.
- Airflow: This is huge! Plan for intake and exhaust fans. Where will cool air come in? Where will hot air go out? Think about positive or negative pressure setups.
- Cable management routes: Trust me, you'll thank yourself later for planning this ahead.
Seriously, don't skip the planning phase. It'll save you headaches and money down the road. I can't stress that enough!
Tools of the Trade: What You'll Need
The tools you'll need will largely depend on your chosen material. But generally, here's a rundown:
- Measuring Tools: Tape measure, ruler, calipers. Accuracy is your best friend here.
- Cutting Tools:
- For wood: Jigsaw, circular saw, hand saw.
- For acrylic: Scoring tool, fine-tooth saw, Dremel.
- For metal: Tin snips, angle grinder (with appropriate safety gear!), drill with metal bits.
- Drilling: Power drill with various bits (wood, metal, plastic).
- Fasteners: Screws, nuts, bolts, standoffs (crucial for motherboard mounting!).
- Adhesives: Wood glue, acrylic cement, strong epoxy.
- Safety Gear: Eye protection, gloves, dust mask – absolutely non-negotiable! I've had a few close calls, and it's just not worth the risk.
Bringing Your Vision to Life: The Construction Phase
Alright, blueprints are done, materials are gathered, and you're hyped. Let's get building!
Step 1: Cutting and Shaping Your Panels
Start with the main structural panels. Measure twice, cut once – you've heard it a million times because it's true! Make sure your cuts are clean and precise. For wood, you might sand edges smooth. For acrylic, gently file down any rough spots. If you're working with metal, be mindful of sharp edges; deburr them for safety.
Step 2: Mounting Hardware & Internal Structure
This is where your components start to find their home. You'll need to install motherboard standoffs. These elevate your motherboard, preventing short circuits and allowing airflow underneath. Mark and drill holes carefully based on your motherboard's form factor. Then, install mounts for your PSU, storage drives, and any fan mounts you've planned. I often find it helpful to temporarily place my components inside the unfinished frame to double-check clearances.
Step 3: Assembling the Frame
Fasten your panels together. If using wood, you might use screws, dowels, or glue and clamps. For acrylic, specialized cement creates a strong bond. Metal cases often involve riveting, bolting, or even welding. Don't be afraid to take your time; a sturdy frame is essential.
Step 4: Cable Management Consideration
While not a step in itself, you should be thinking about cable management throughout the build. Will you have a false back panel? Cutouts for routing cables? Planning this early prevents a tangled mess later and improves airflow significantly.
Step 5: The Finishing Touches
Once the basic structure is solid and components fit, it's time for aesthetics. This could mean sanding and painting your wooden case, polishing acrylic, or adding custom lighting. Think about front panel I/O (USB ports, audio jacks, power button) – you might need to purchase separate modules for these. This is where your personal flair really shines through!
Navigating the Bumps: Challenges and Important Tips
It's not always smooth sailing; you'll likely run into a snag or two. That's part of the fun, right?
- Measure, Measure, Measure: I can't say it enough. Tiny errors compound quickly.
- Test Fits: Regularly fit your actual components into the evolving case to ensure everything still clears and aligns.
- Ventilation is Key: Underestimating airflow can lead to overheating. Don't choke your components!
- Start Simple: For your first DIY case, maybe don't aim for a dual-system, water-cooled behemoth. A simple wooden box or open-air frame is a great starting point.
- Don't Be Afraid to Improvise: Sometimes, your original plan won't work perfectly. Be open to adapting and finding creative solutions.
Building your own PC case is an incredibly rewarding endeavor. You end up with a machine that's not just powerful on the inside, but uniquely yours on the outside. It's a fantastic blend of engineering, craftsmanship, and personal expression. If you're considering it, I say go for it! You'll learn a ton, and you'll have an absolutely awesome, one-of-a-kind creation to show for your efforts. Good luck, and have a blast with your build!